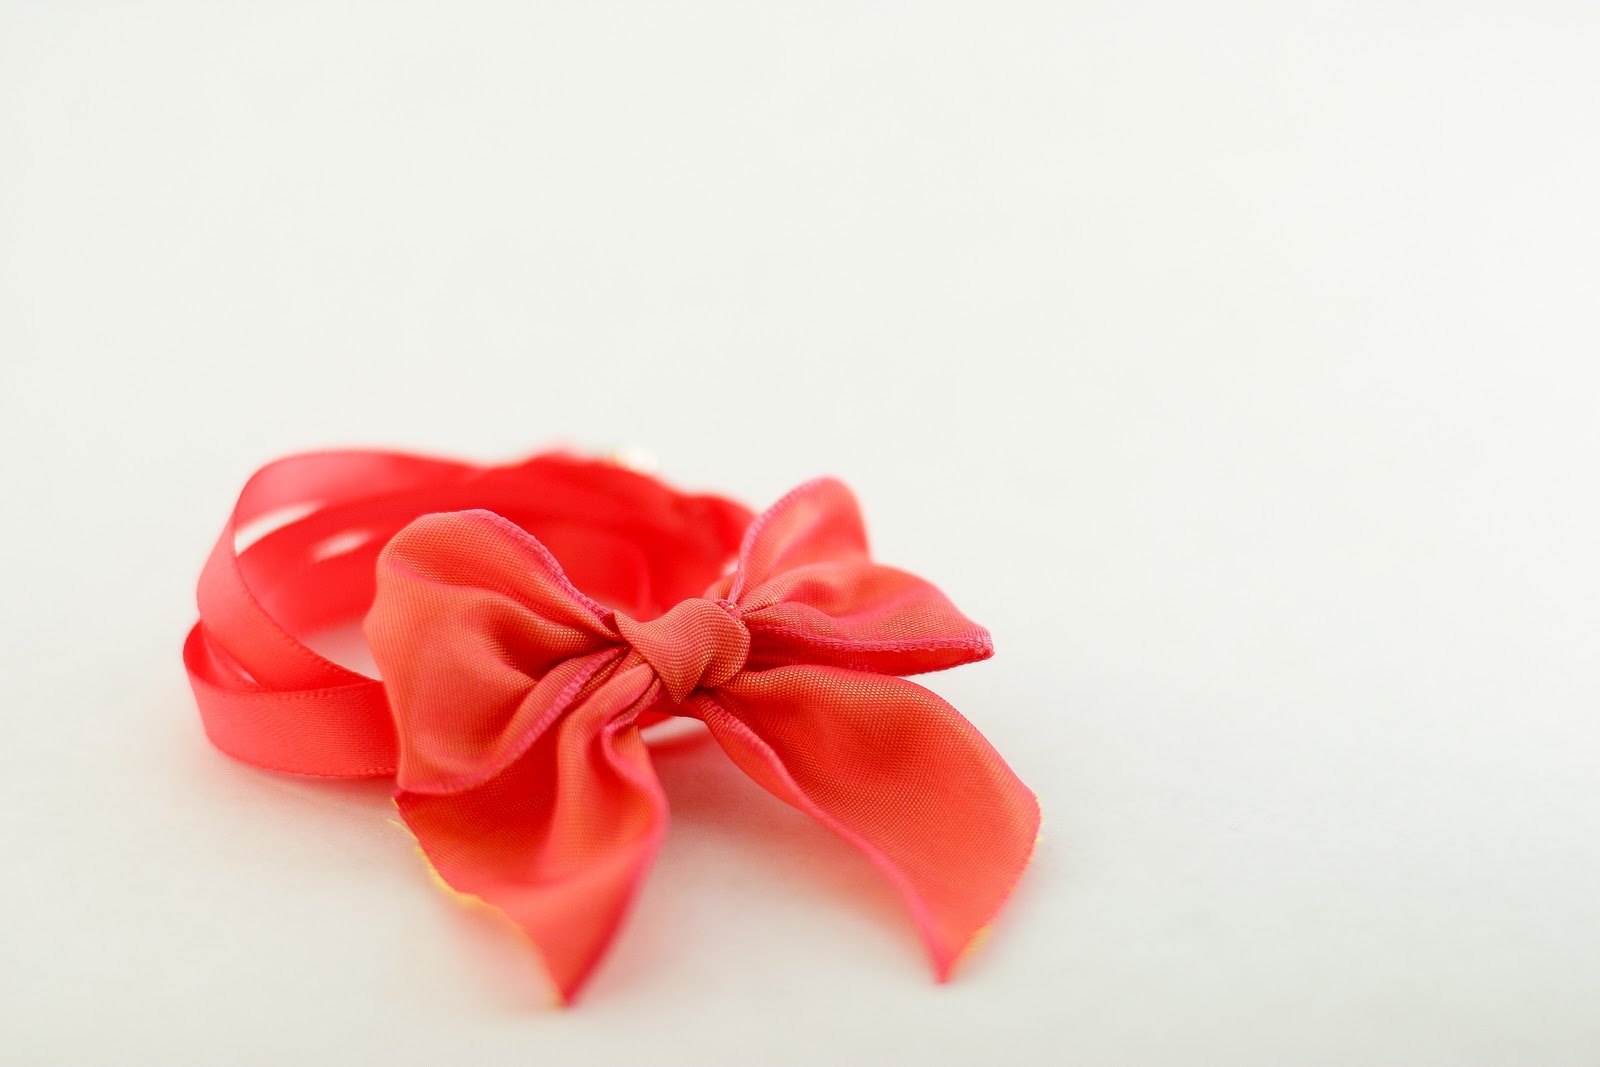
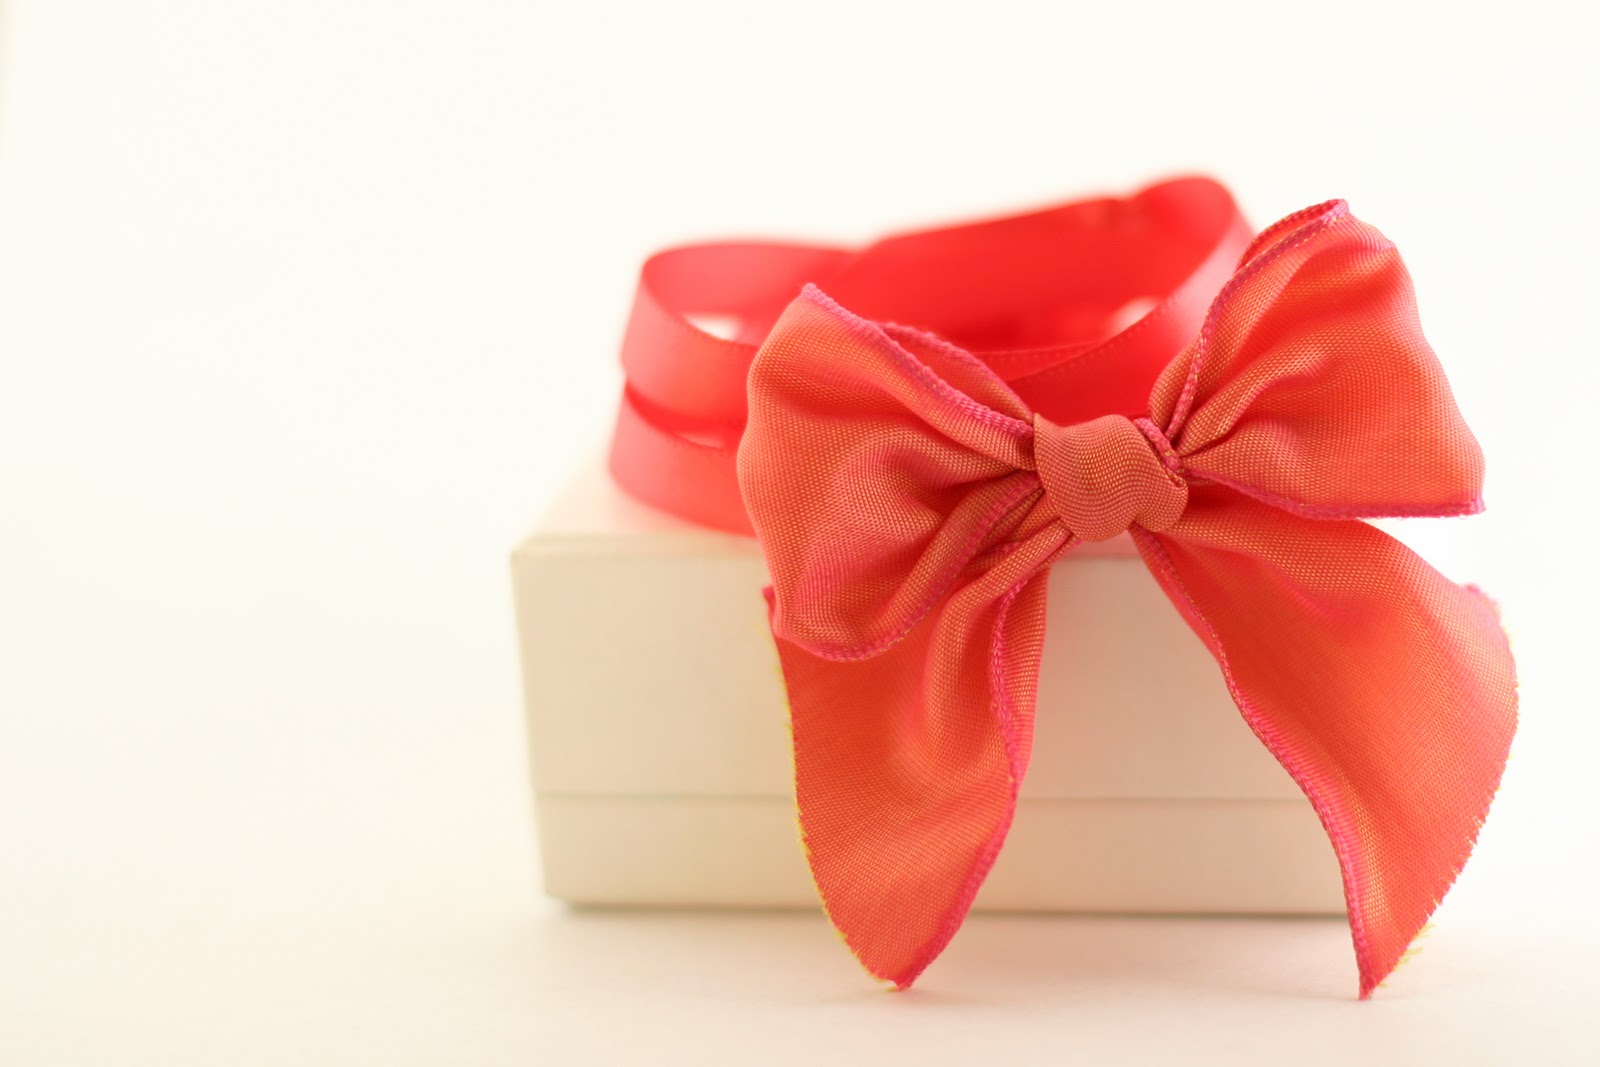
Bows are so trendy lately! We can see them on headbands, belts, shoes, hats…But a bow as a bracelet? That’s an unique idea. That is why we decided to share this quick, cheap & easy DIY Bow Bracelet Tutorial in less than 30 minutes. Too good to be true? Follow the steps and you will have a beautiful piece of jewelry you can wear yourself , surprise your daughter or use as a unique gift to a dear person…
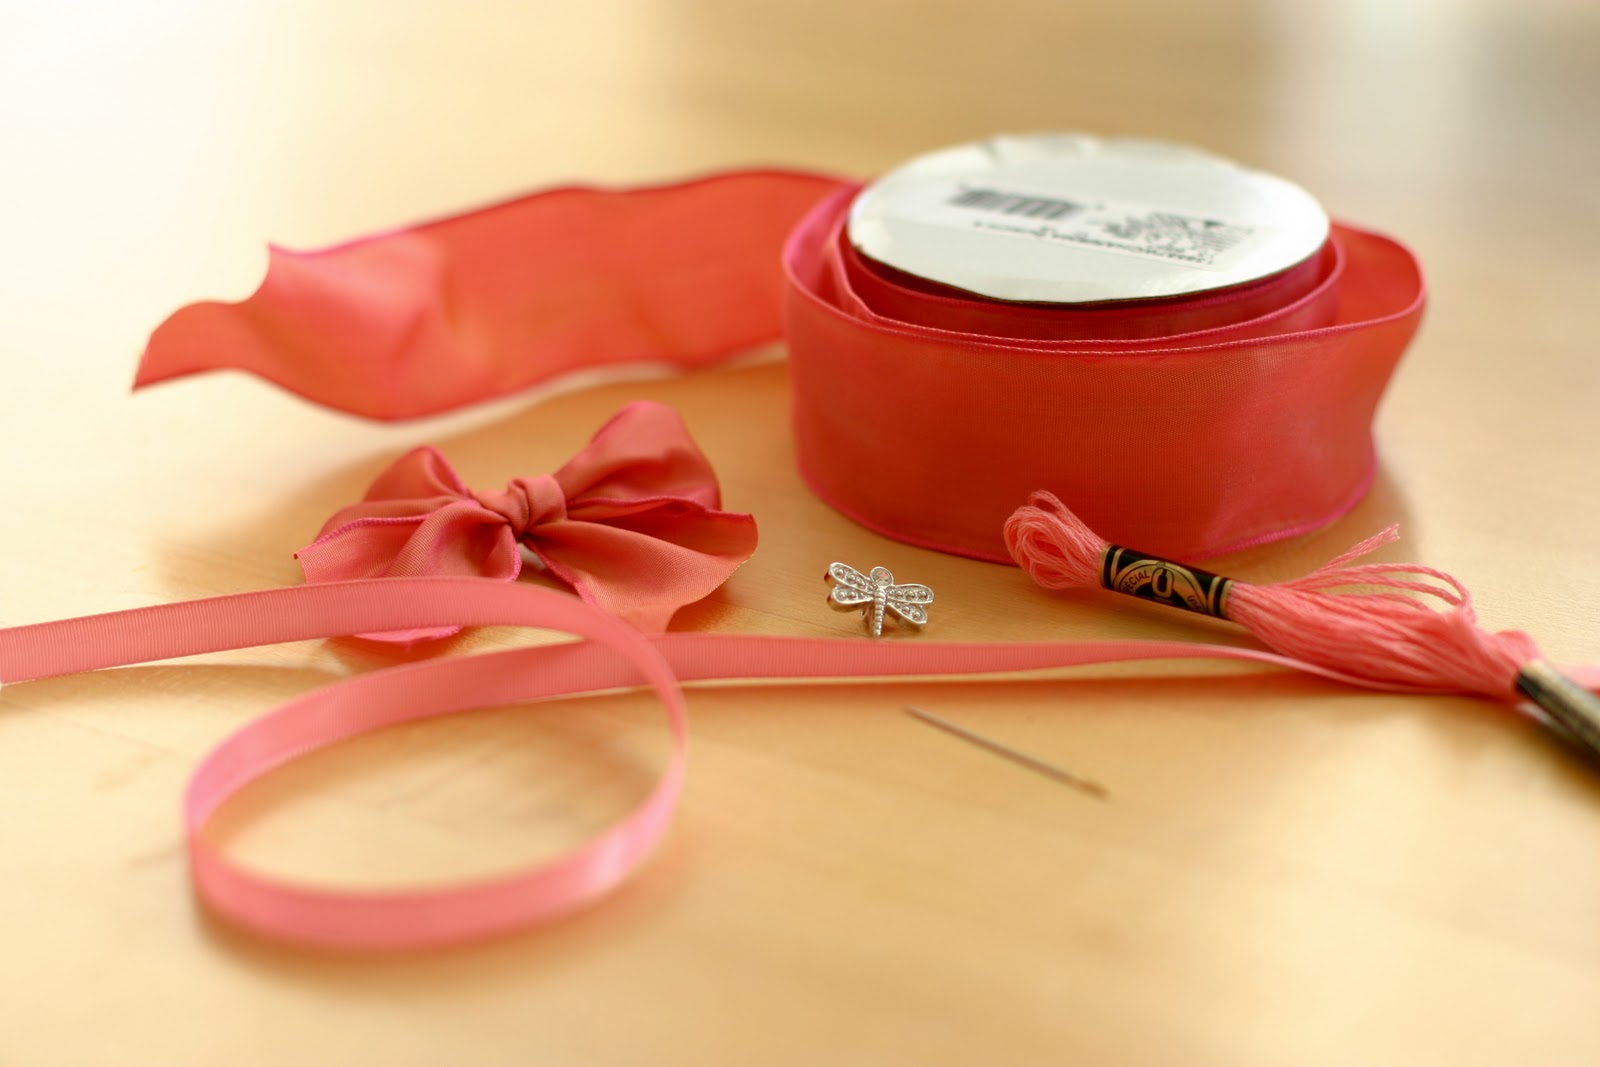
What you need to create this amazing bracelet is:
- ribbon (we choose salmon colored ribbon – but feel free to choose your favorite color)
- wired ribbon in the same color as the regular one
- decorative button for a final touch – we used a dragonfly but you can use whatever you like
- embroidery (or regular) thread in the same color as ribbons and a needle
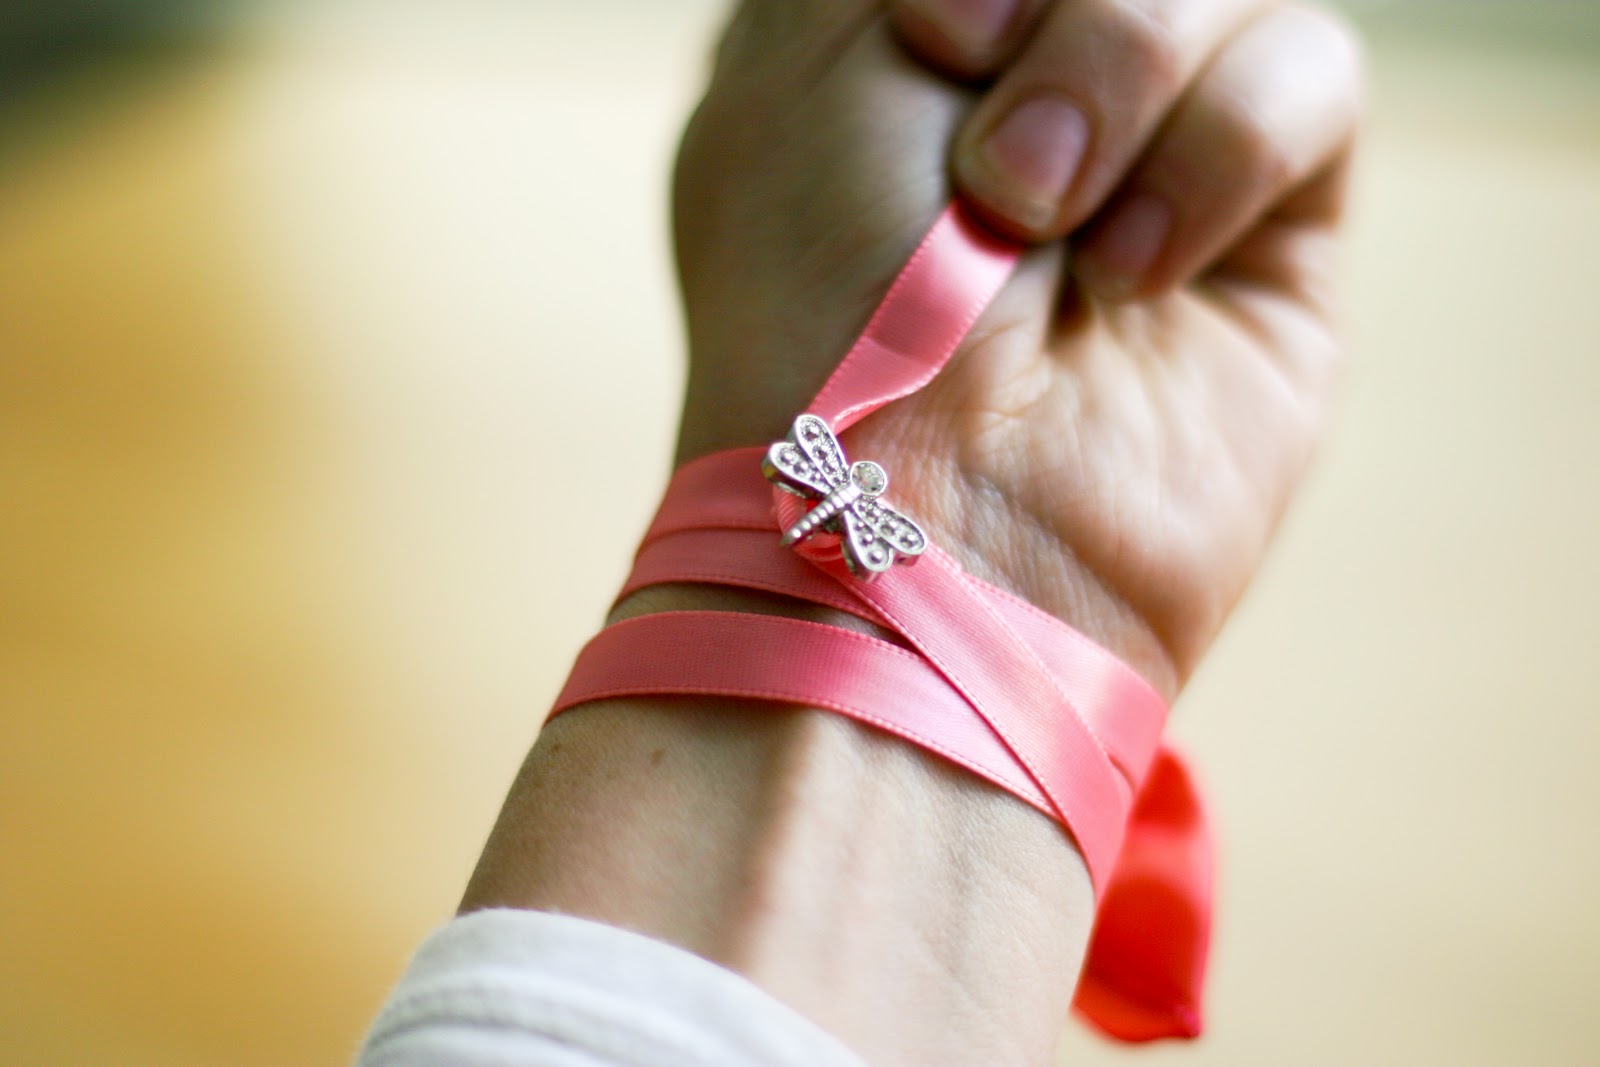
We decided to wrap the bracelet 3 times around the wrist, so start with measuring how much ribbon will it take to make the desired length of the bracelet. Cut the ribbon after wrapping it around the wrist for desired number of times and adding 2 inches for the closure.
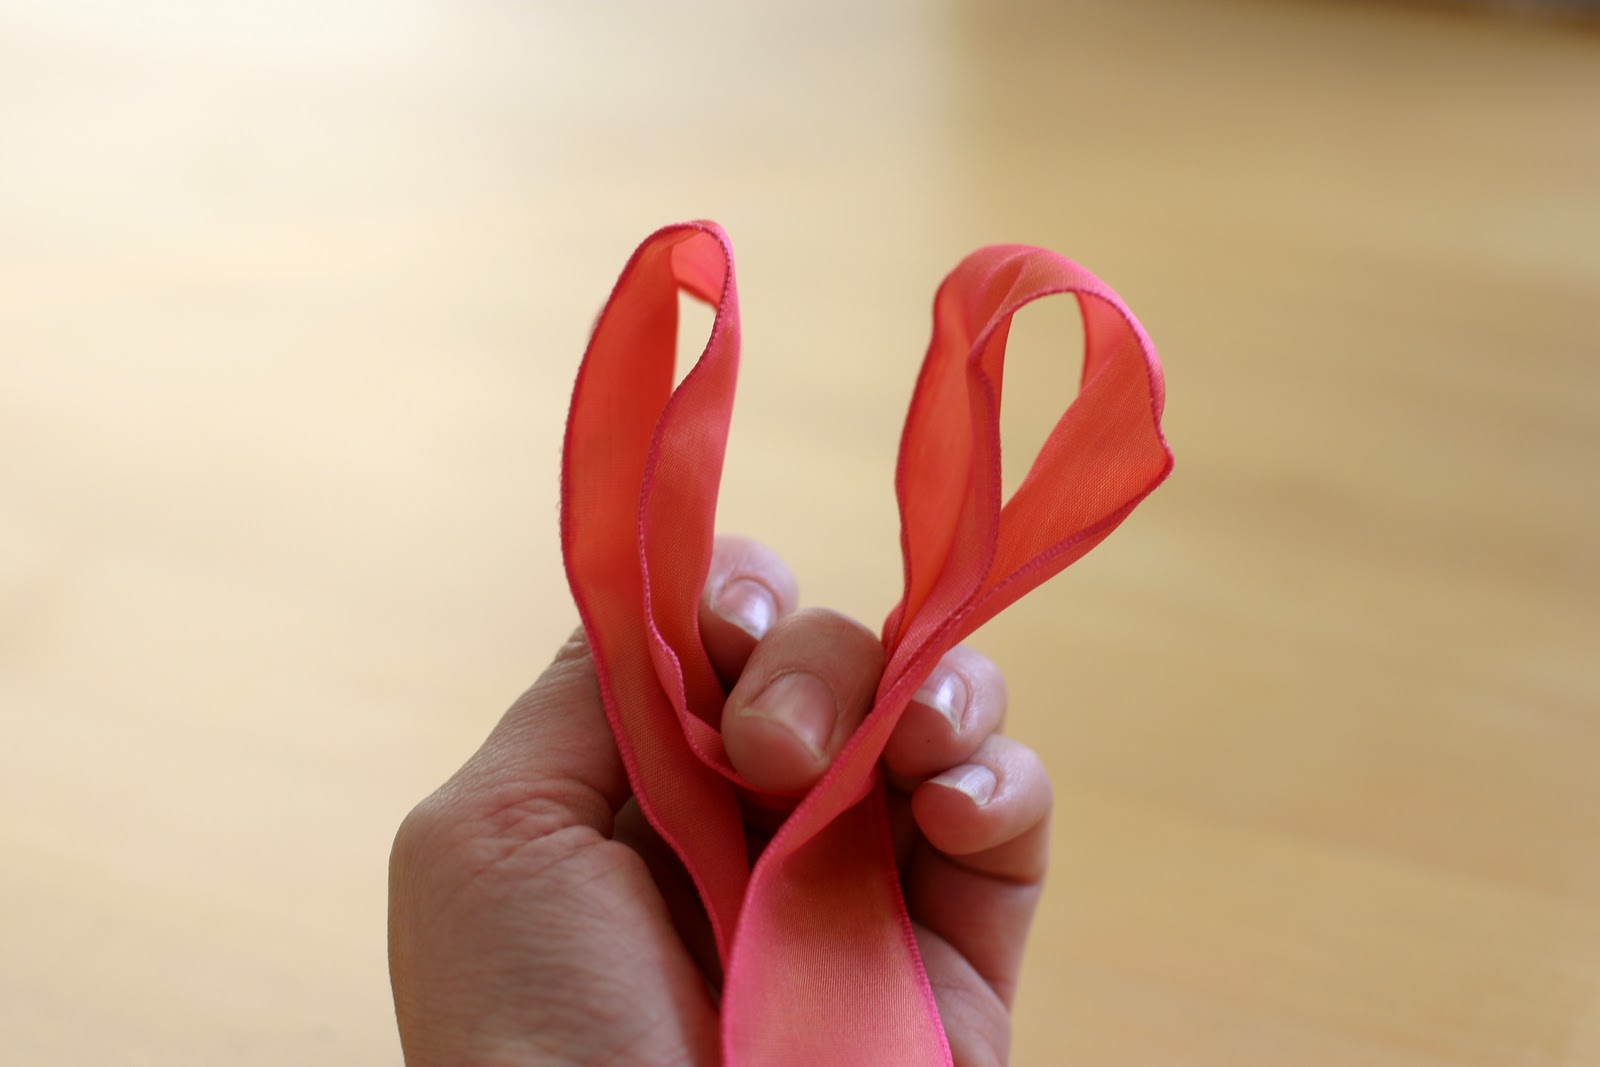
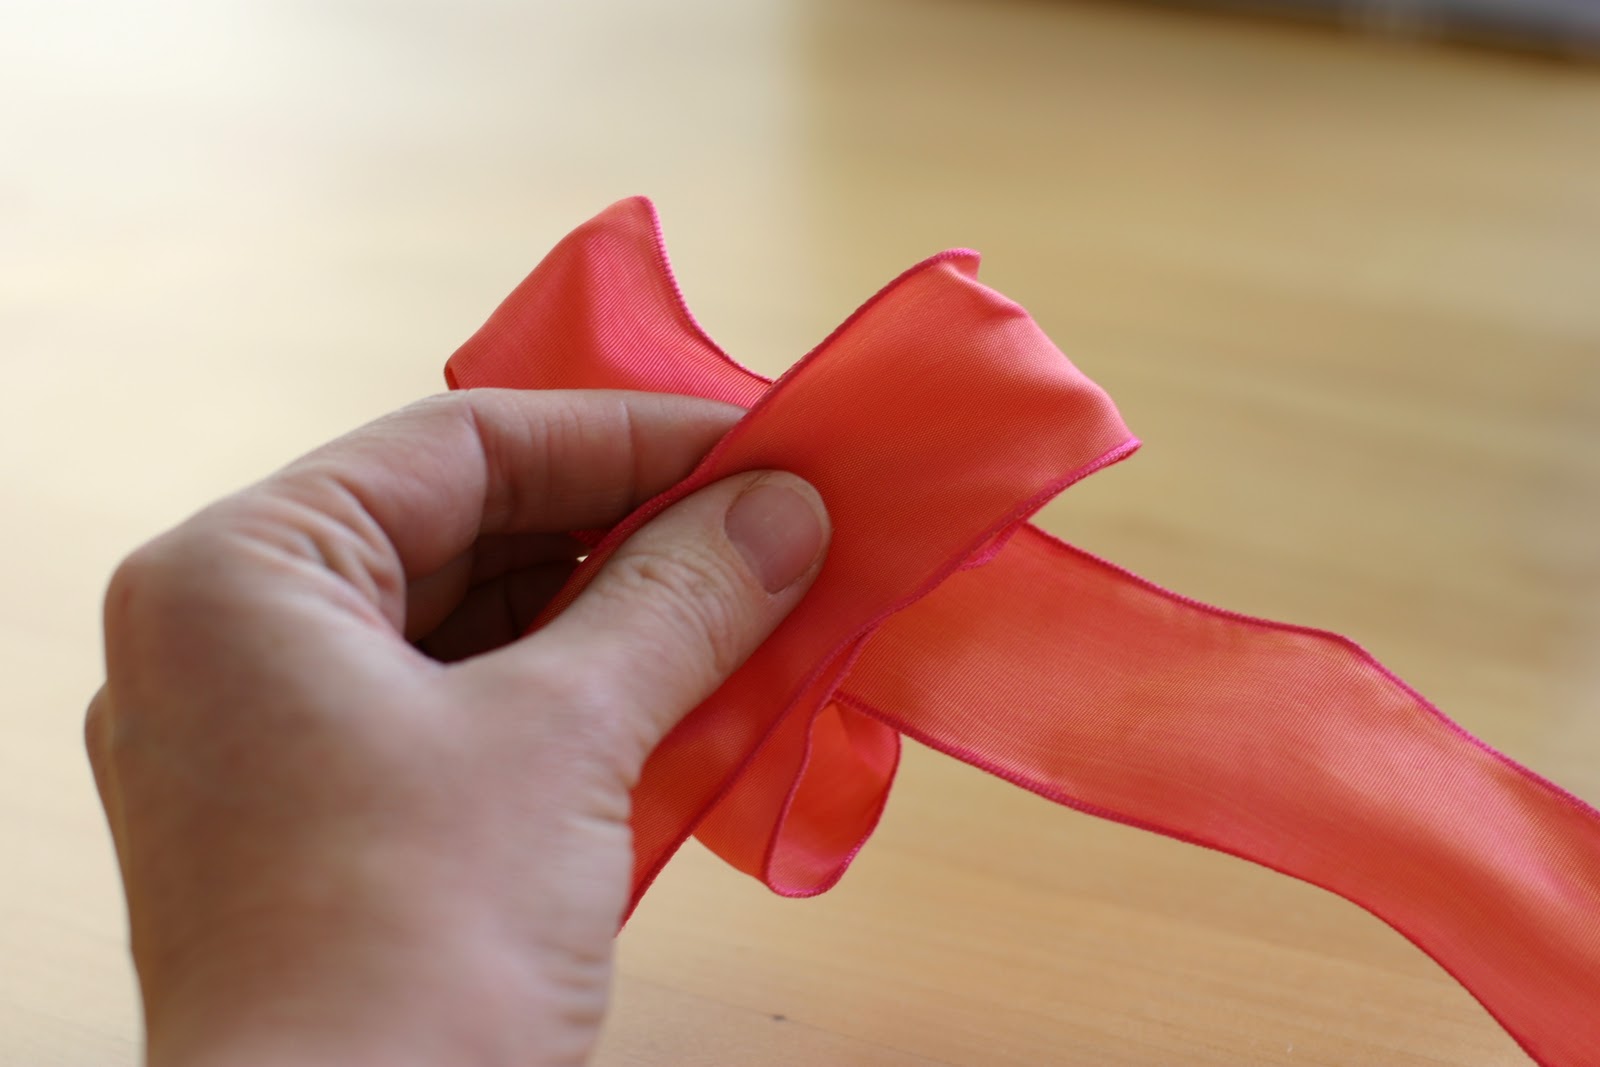
Now do the bow by using the wired ribbon. It is easy as a cake – just make two loops and cross them left over right.
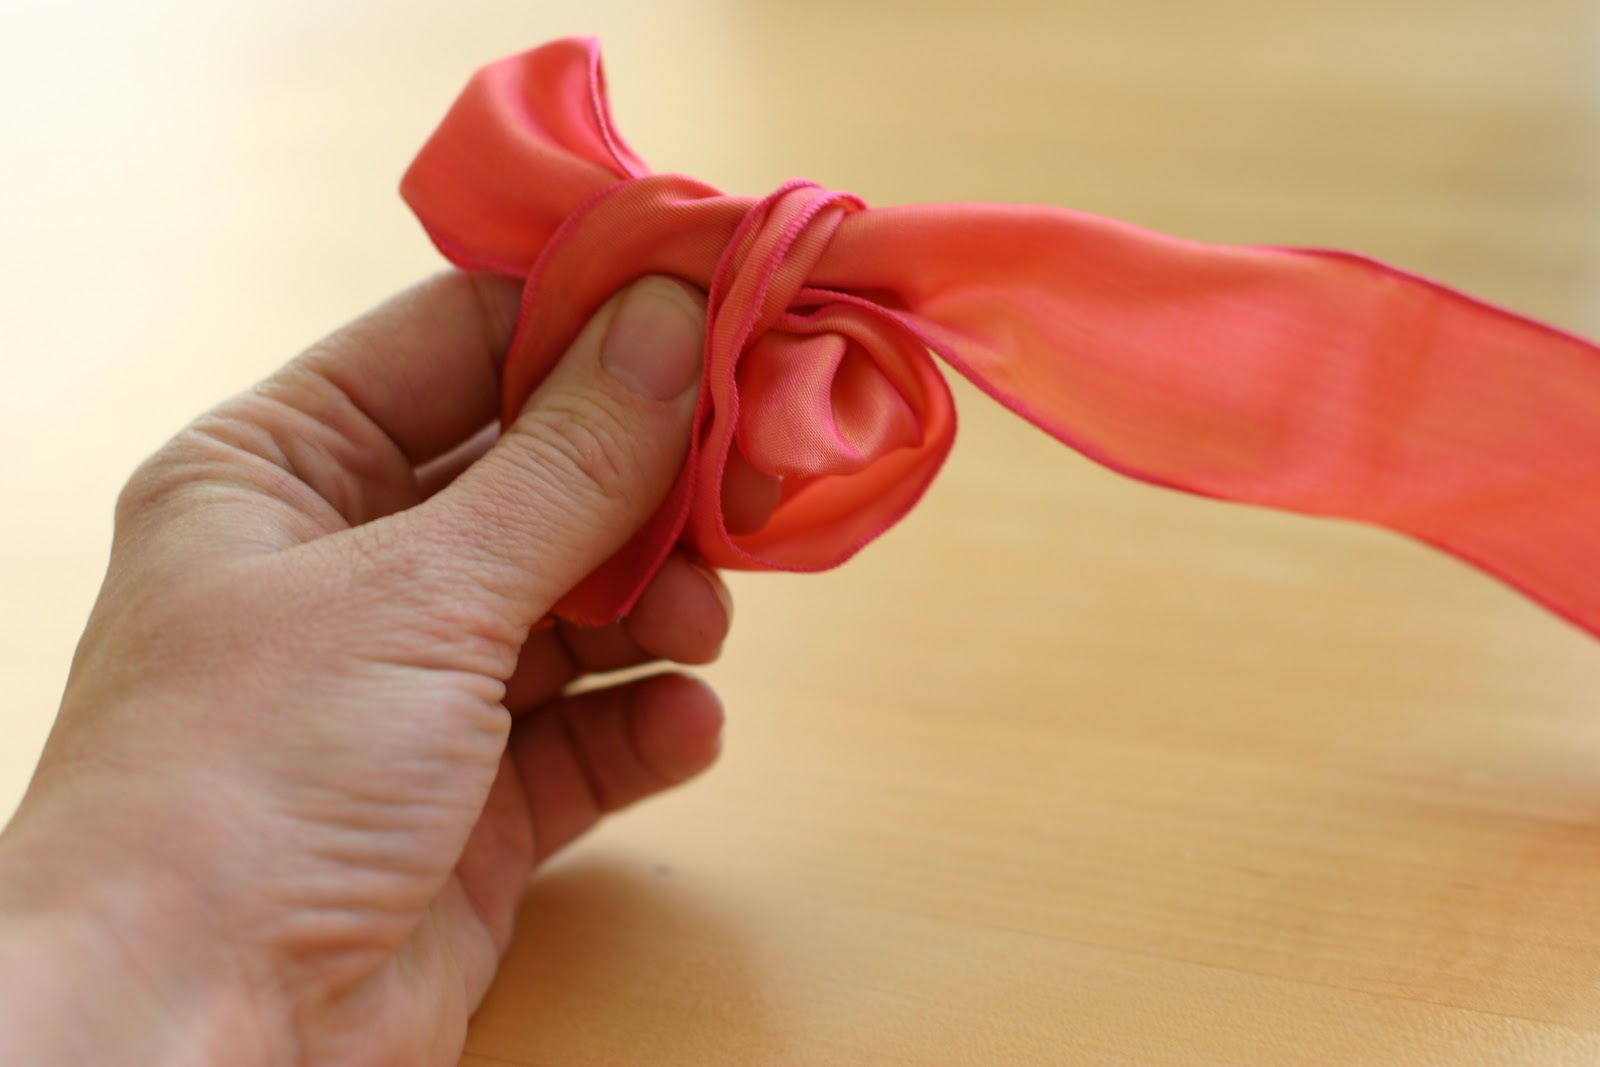
Take left loop over the right and through the hole so it becomes your right loop.
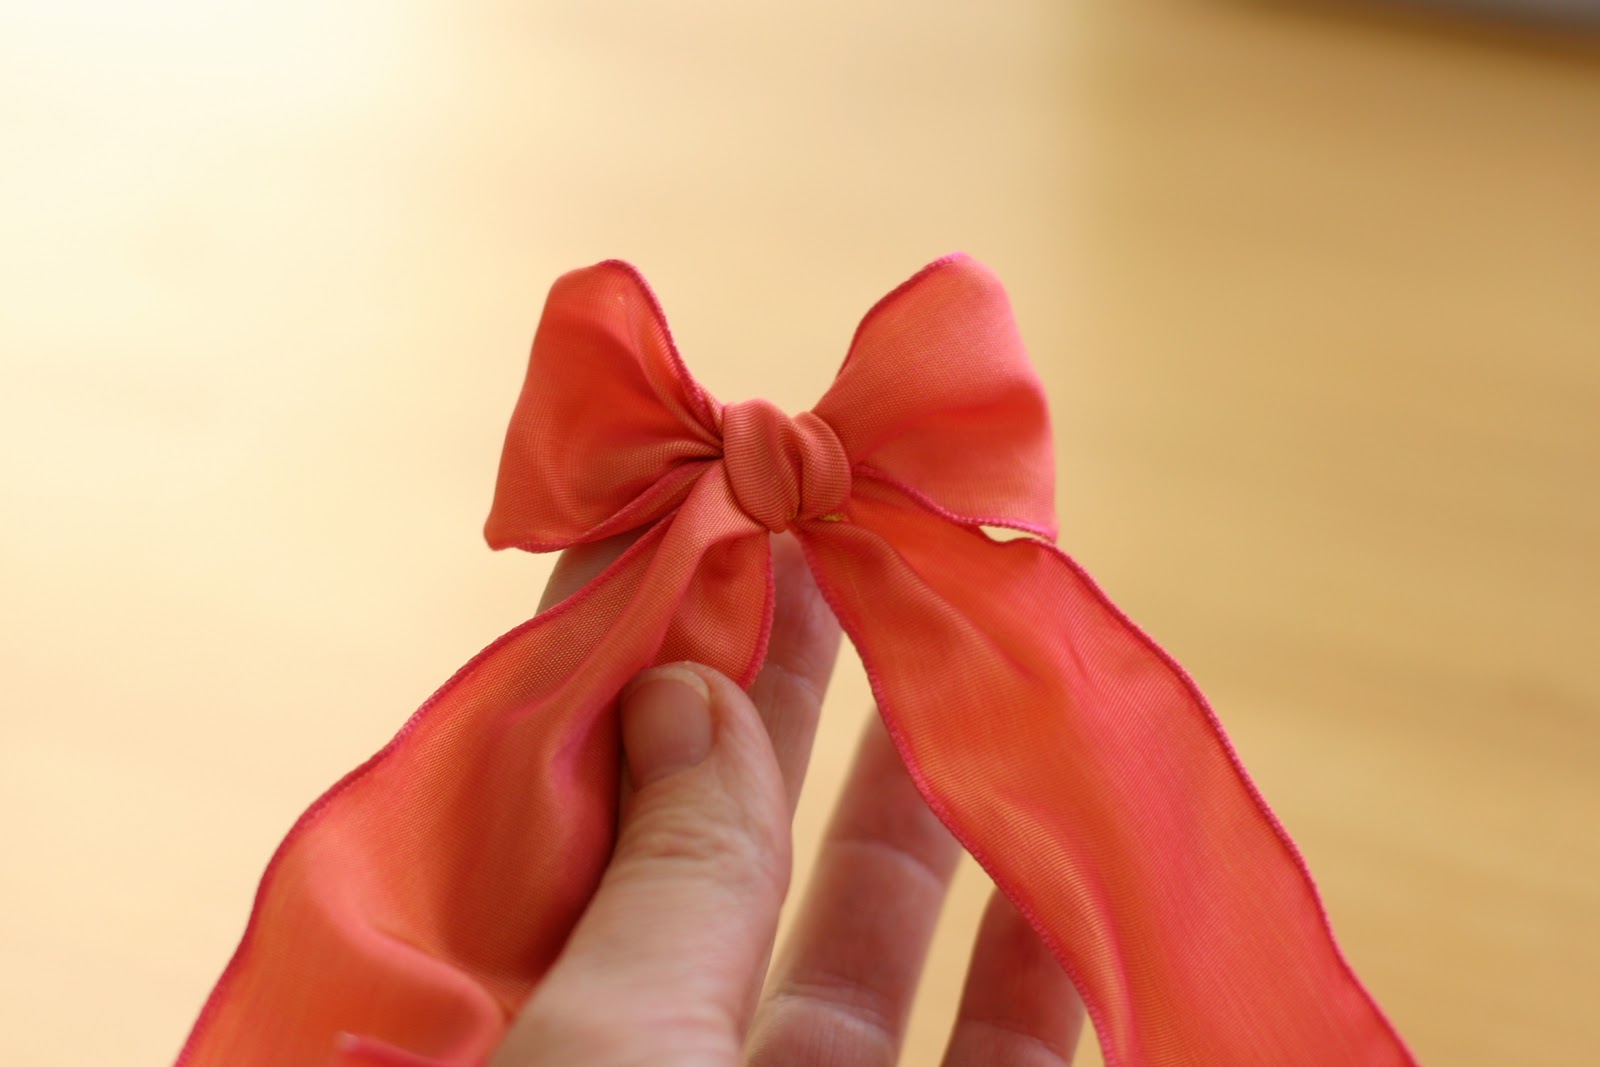
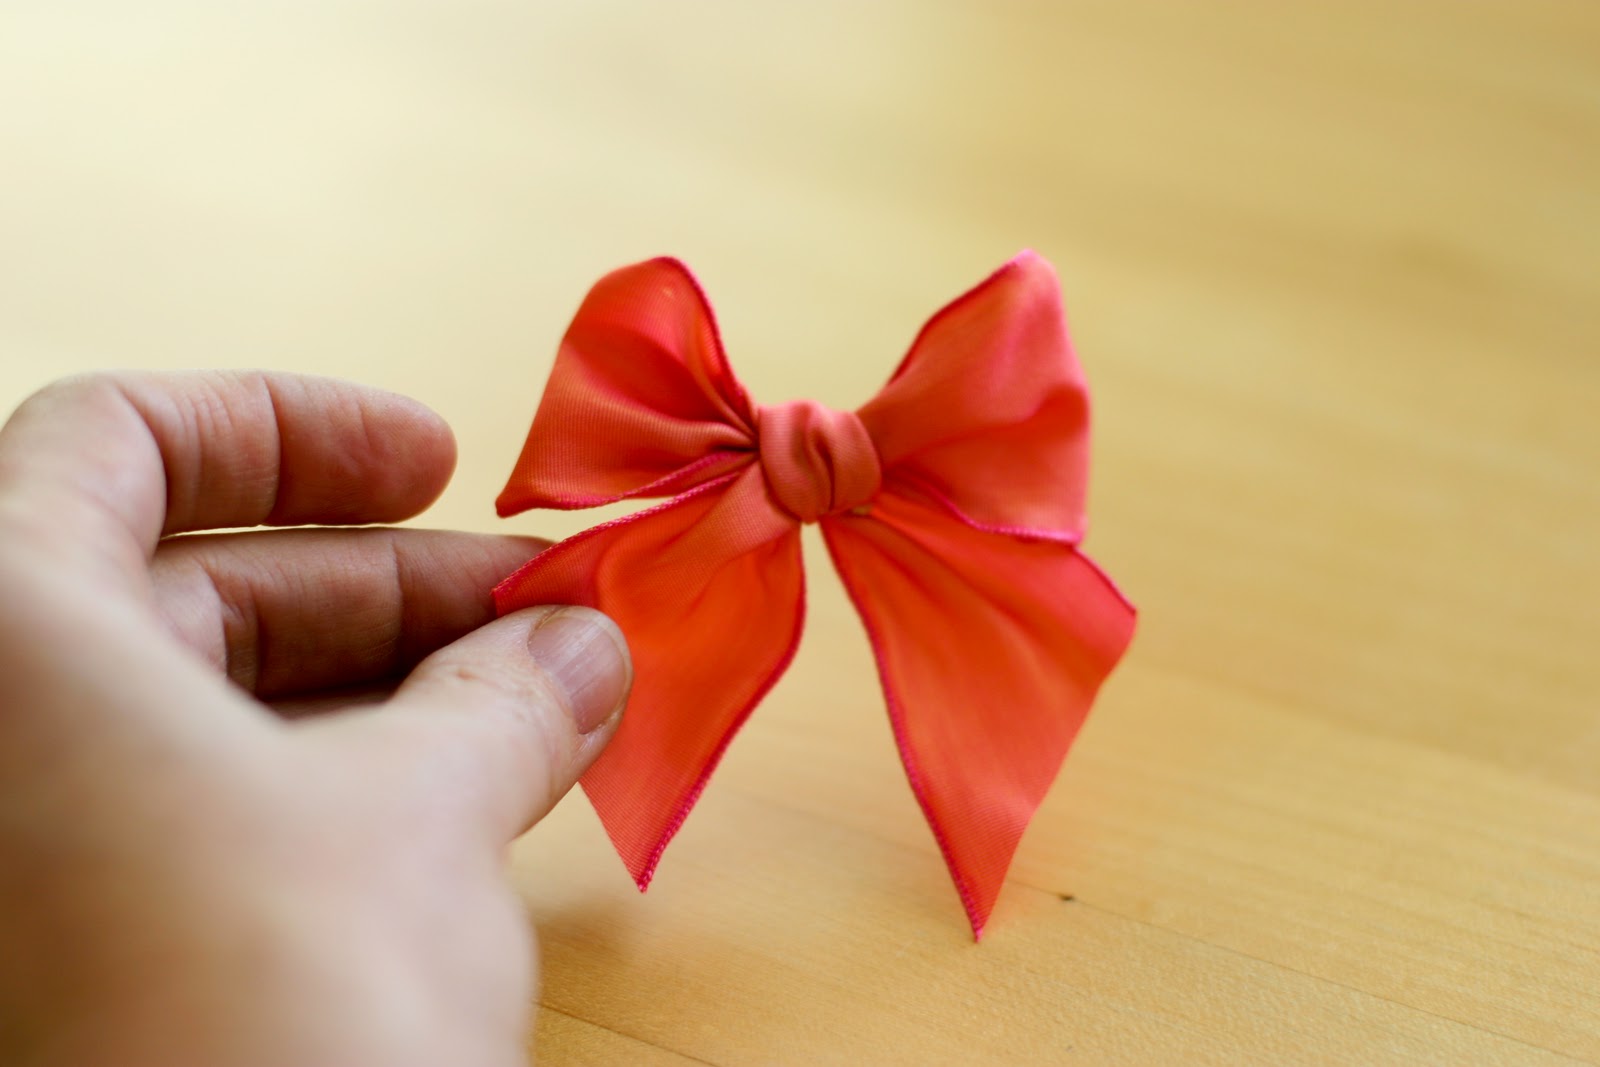
Flip over the bow and tighten it until you are satisfied by the way it looks.
Don’t forget to cut ends to your desired length.
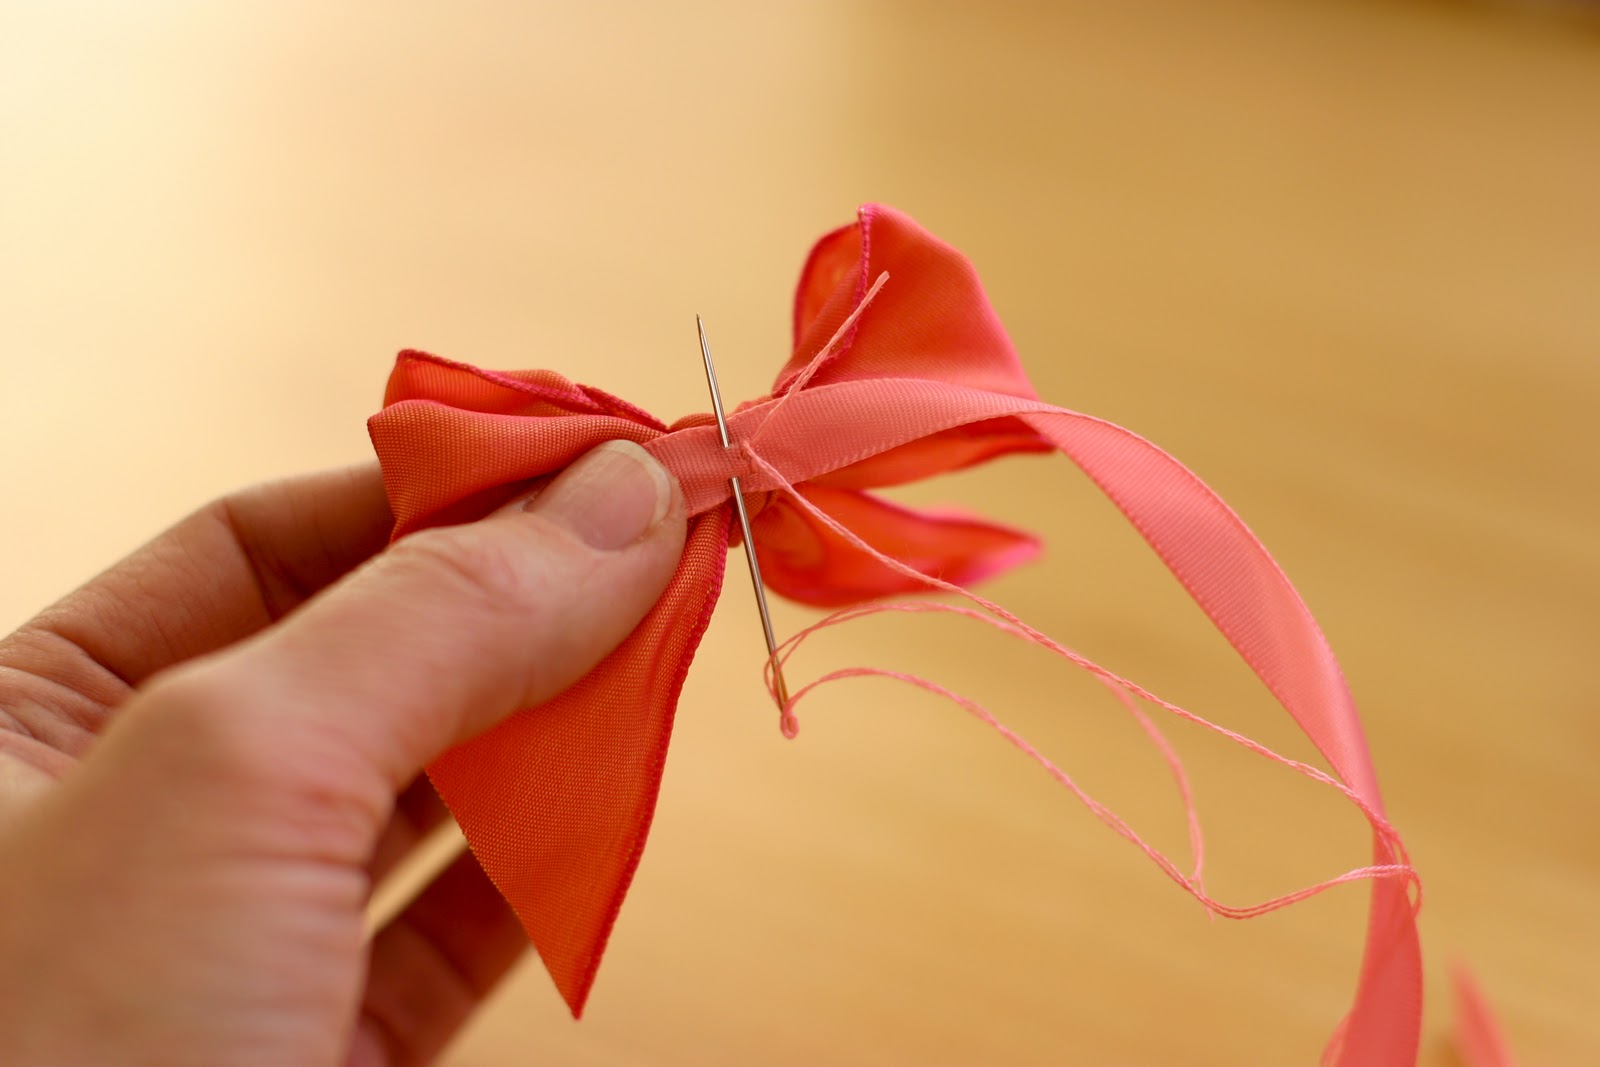
Use the thread and the needle to sew the bow onto the ribbon – be careful to sew it on the middle of the previously measured ribbon. Secure it good.
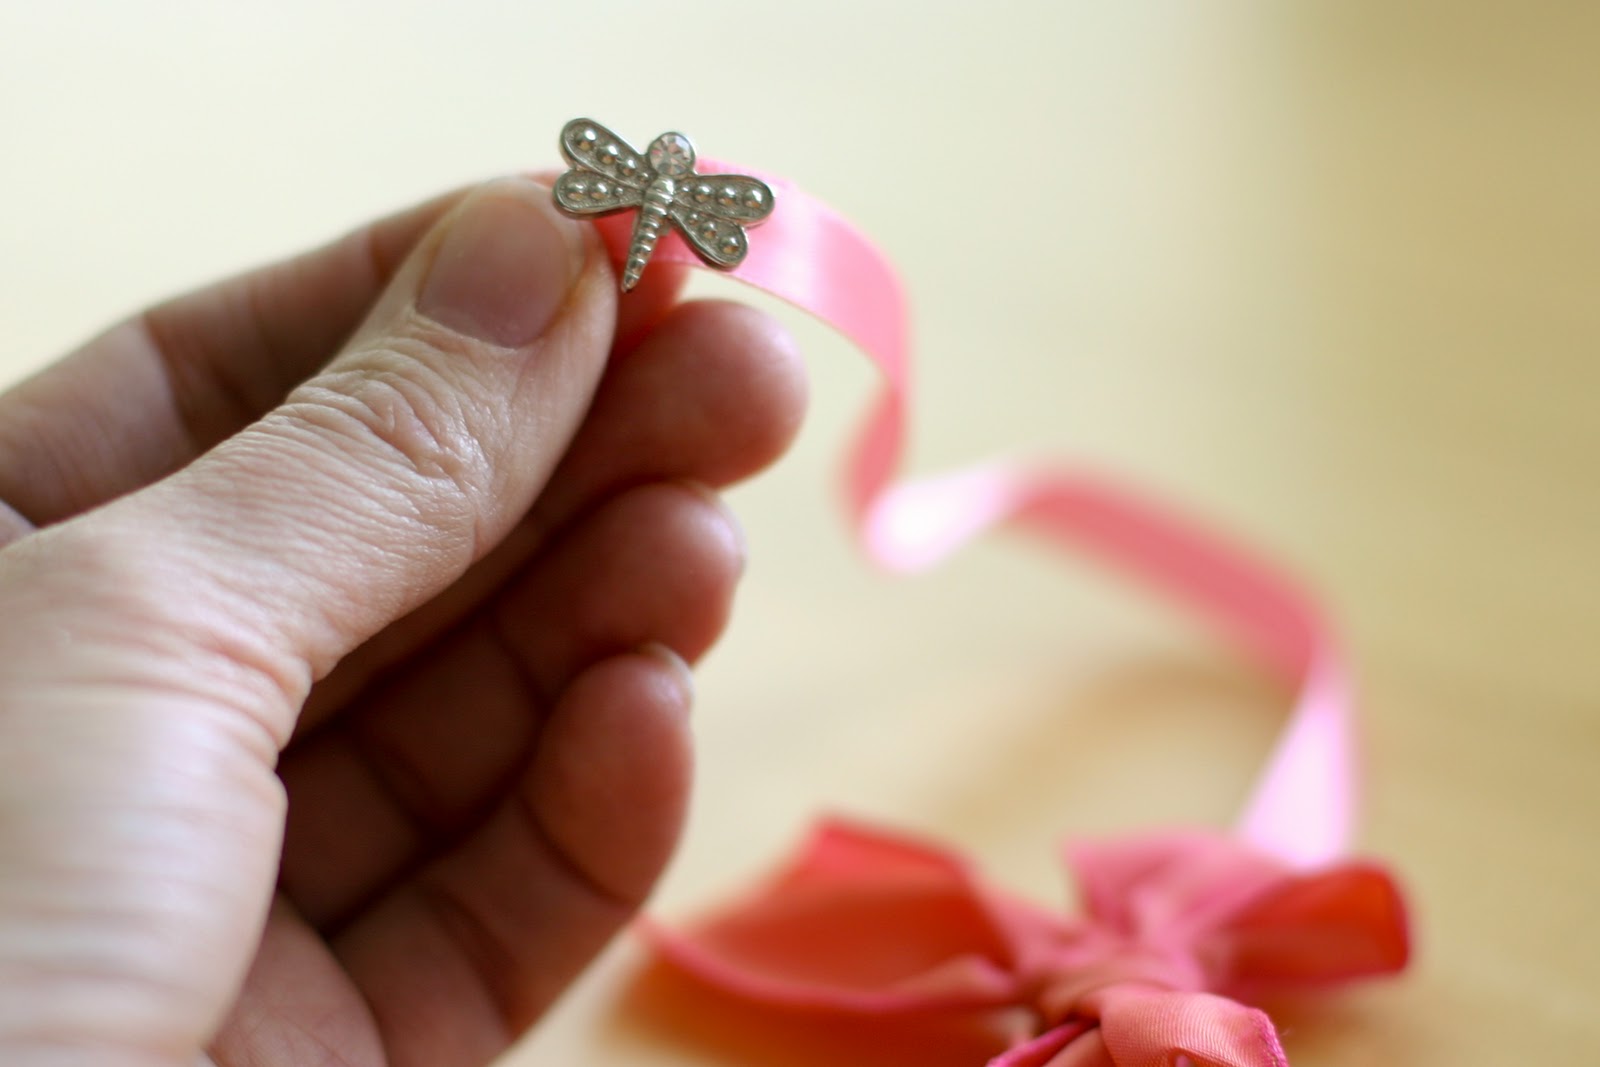
Fold over one inch of the wired ribbon and sew the decorative button on it.
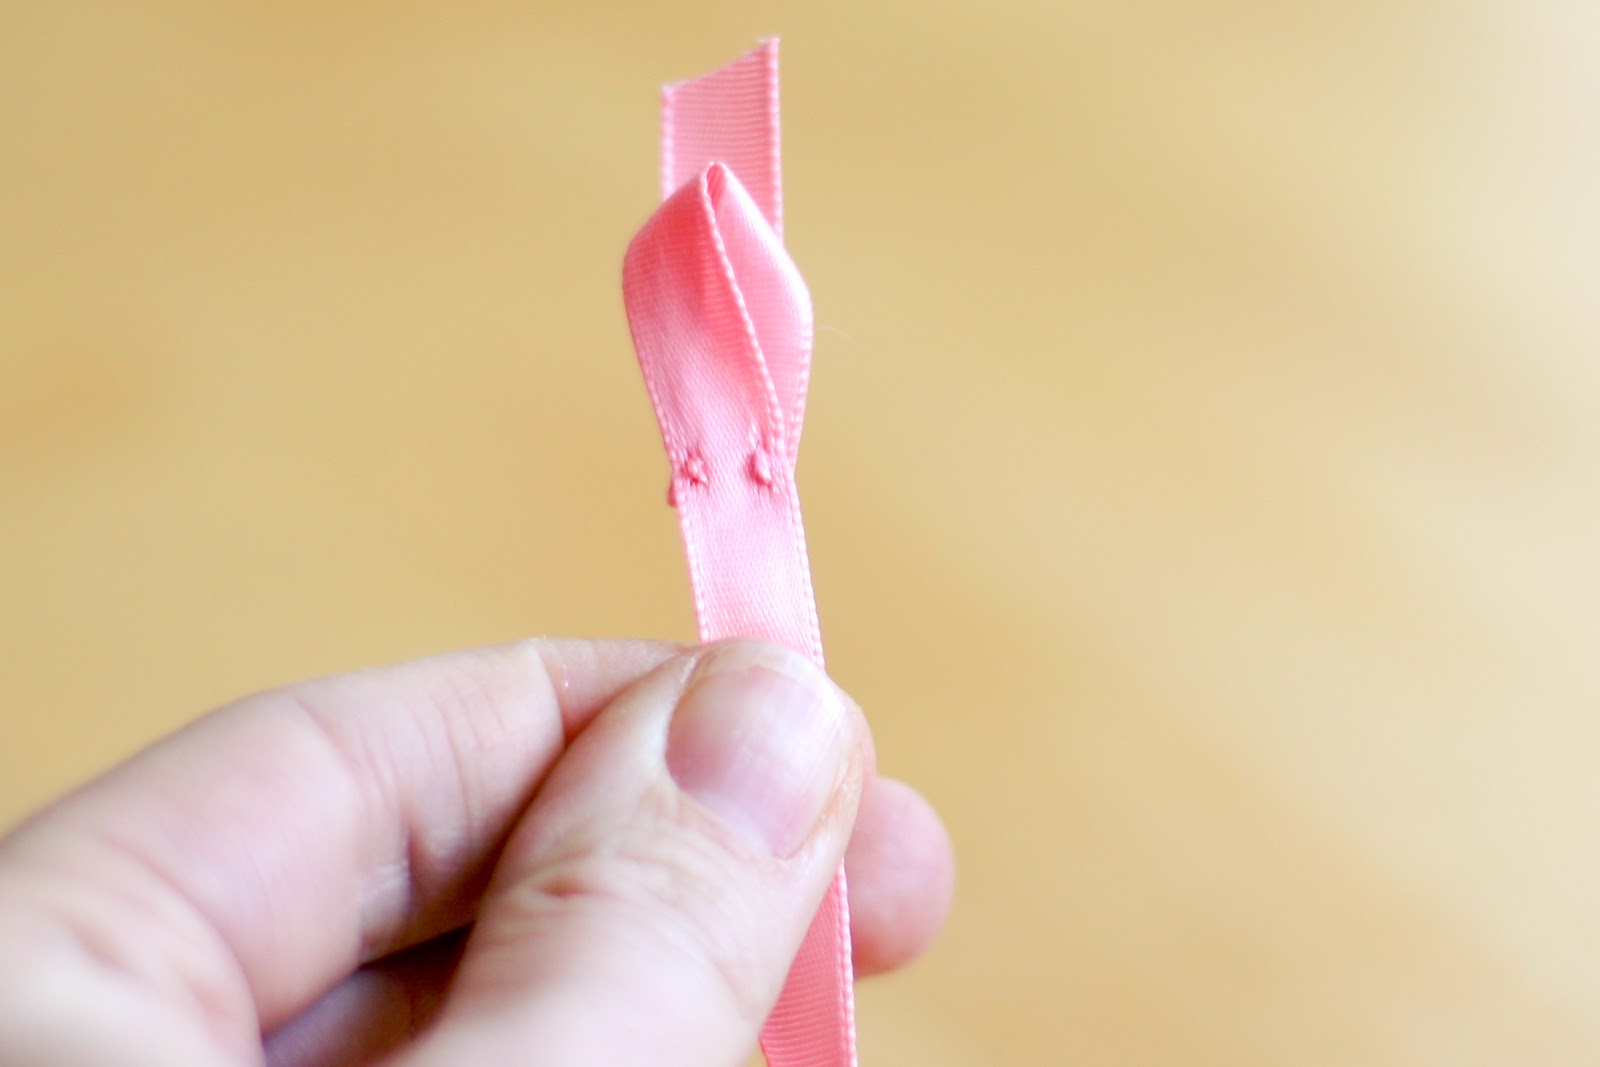
Sew the closure loop on the other end of the ribbon. Sew loop in ribbon as follows, with extra tail to secure closure loop with triple thickness of ribbon. Keep the tail so you can increase the length of the bracelet if necessary.
Keep the tail so you can increase the length of the bracelet if necessary.
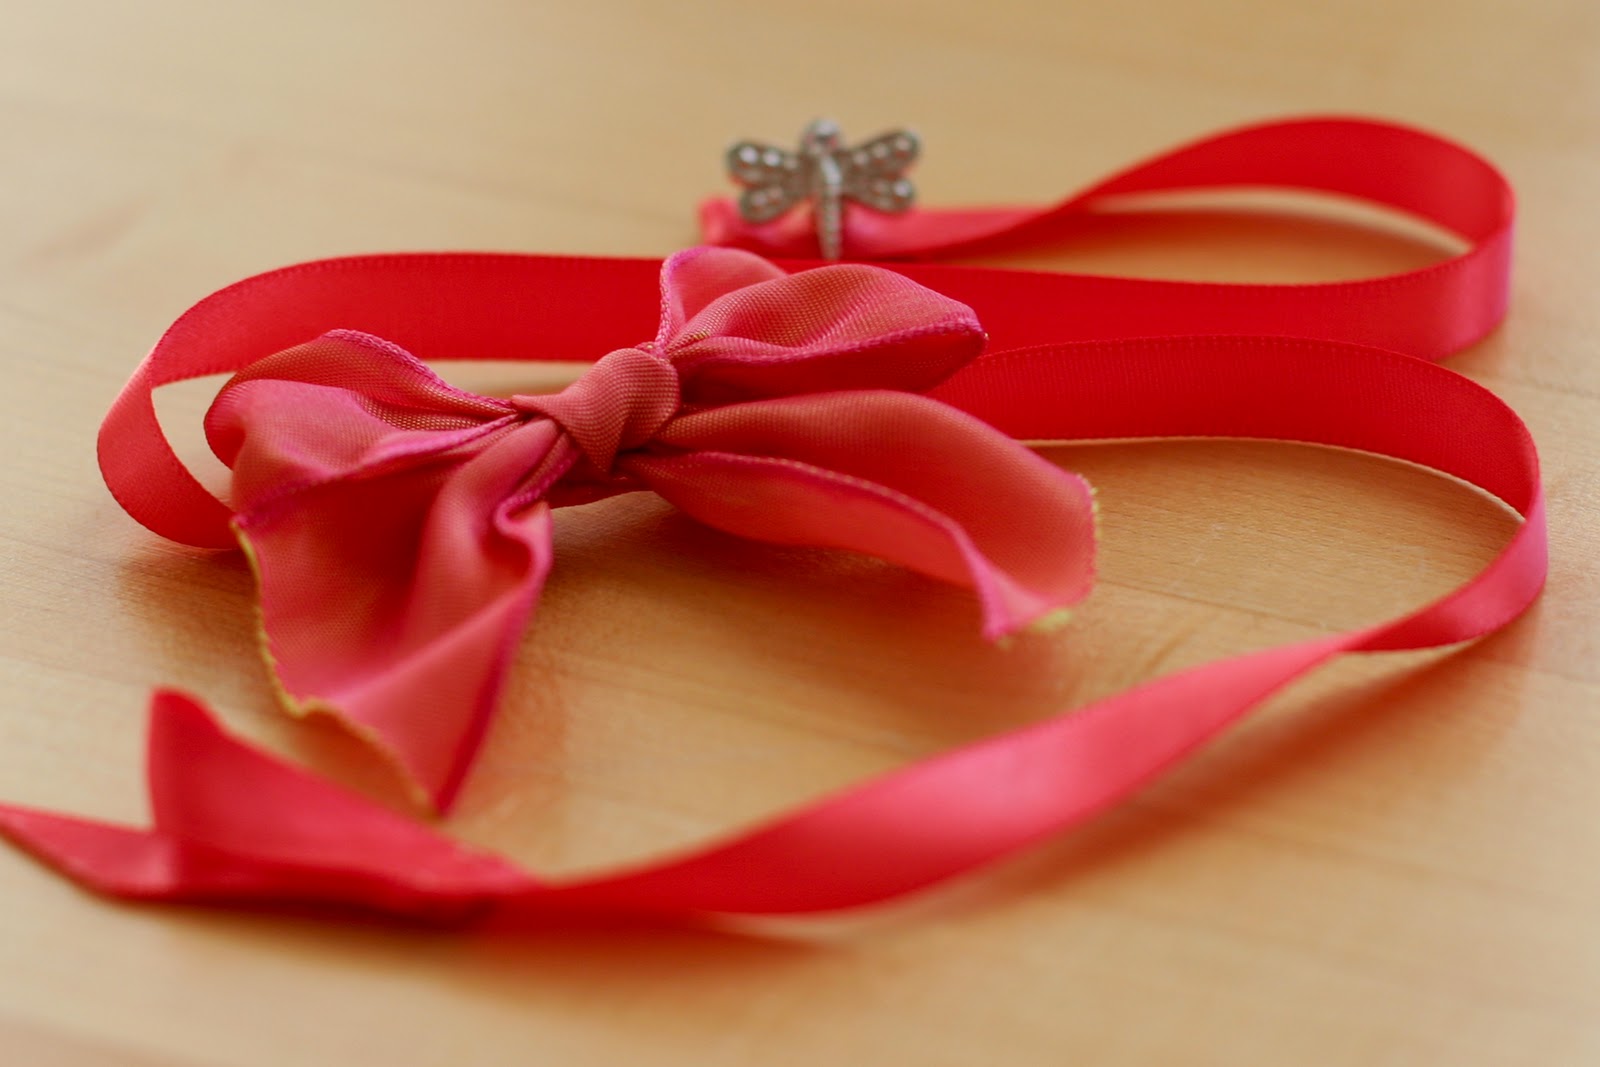
At the end the closure loop should fit around the button. Congrats! You’ve just created a Bow Bracelet in less than 30 minutes!

